
A dead or failing car battery is one of the most common factors a vehicle won’t start. The good news is that changing a car battery is usually easy. The good news is that replacing a car battery is usually a in a go task that many drivers can manage on their own with the right tools along with basic knowledge.
Still, while the process is easy, it’s important to follow the correct steps along with safety precautions. This guide takes you through how to replace a car battery step by step, along with little tips to help you avoid mistakes and know when it’s better to seek professional help.
Signs Your Car Battery Needs to Be Replaced
Before replacing your battery, it’s helpful to verify that it’s actually the issue.
Common signs of a failing battery include
- Slow engine crank when starting the car
- Dashboard warning lights associated with the battery or electrical system
- Dimming headlights or electrical problems
- A battery that is more than 3 to 5 years old
If you’re facing one or more of these problems, it may be the time for a replacement.
Tools and Materials You’ll Need
Replacing a car battery doesn’t need many tools, but having everything ready will make the process easy:
- A new battery that caters to your vehicle’s specifications
- Wrench or socket set
- Safety gloves as well as protective eyewear
- Battery cleaning brush (optional but helpful)
Always double-check that the new battery is compatible with your vehicle before driving.
Step 1: Turn Off the Vehicle and Ensure Safety
Start by turning off the engine as well as removing the keys from the ignition. Engage the parking brake as well as make sure the vehicle is parked on a flat surface.
Safety is critical when working with a car battery. Wearing gloves as well as eye protection aids in preventing injury from battery acid or accidental sparks.
Step 2: Locate and Access the Battery
In most vehicles, the battery is located below the hood. However, some models place it in the trunk or under a seat.
If you’re not sure, consult your owner’s manual to look for the exact location. Once located, make sure you have easy access to the battery as well as terminals.
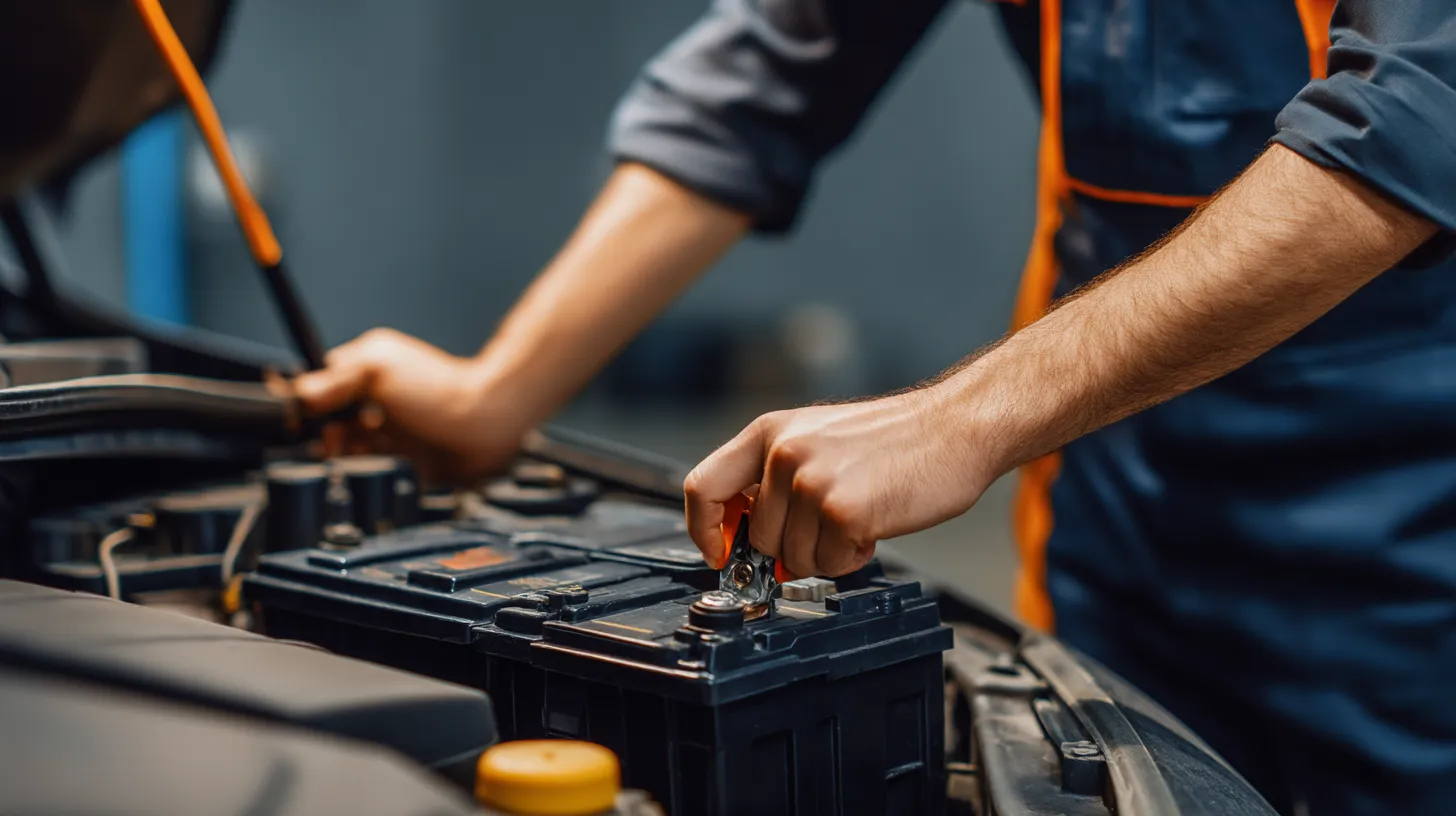
Step 3: Disconnect the Old Battery
Remove the Negative Terminal First
Using a wrench, loosen the nut on the negative (black) terminal as well as cautiously discard the cable. This step is important to keep away electrical shorts.
Remove the Positive Terminal
Following that, loosen and remove the positive (red) terminal. Always follow this order to have utmost safety.
If you’re unsure about handling electrical components or operating around your vehicle’s battery system, visiting a professional service center like Relux Collision can help ensure the process is done safely and correctly.
Step 4: Remove the Old Battery
Most batteries are held by a bracket or clamp. Use a wrench to take it off, then take the battery out carefully.
Remember, car batteries are heavy. Lift them with care to avoid getting hurt.
Step 5: Clean the Battery Tray and Terminals
Before installing the new battery, verify the tray as well as terminals for corrosion or debris. Cleaning these areas helps ensure a strong electrical connection and prevents future issues.
A battery cleaning brush or a simple solution can be used to remove buildup.
Step 6: Install the New Battery
Place the Battery Securely
Set the new battery into the tray, making sure it is properly aligned as well as seated. Reattach the hold-down bracket to keep it secure.
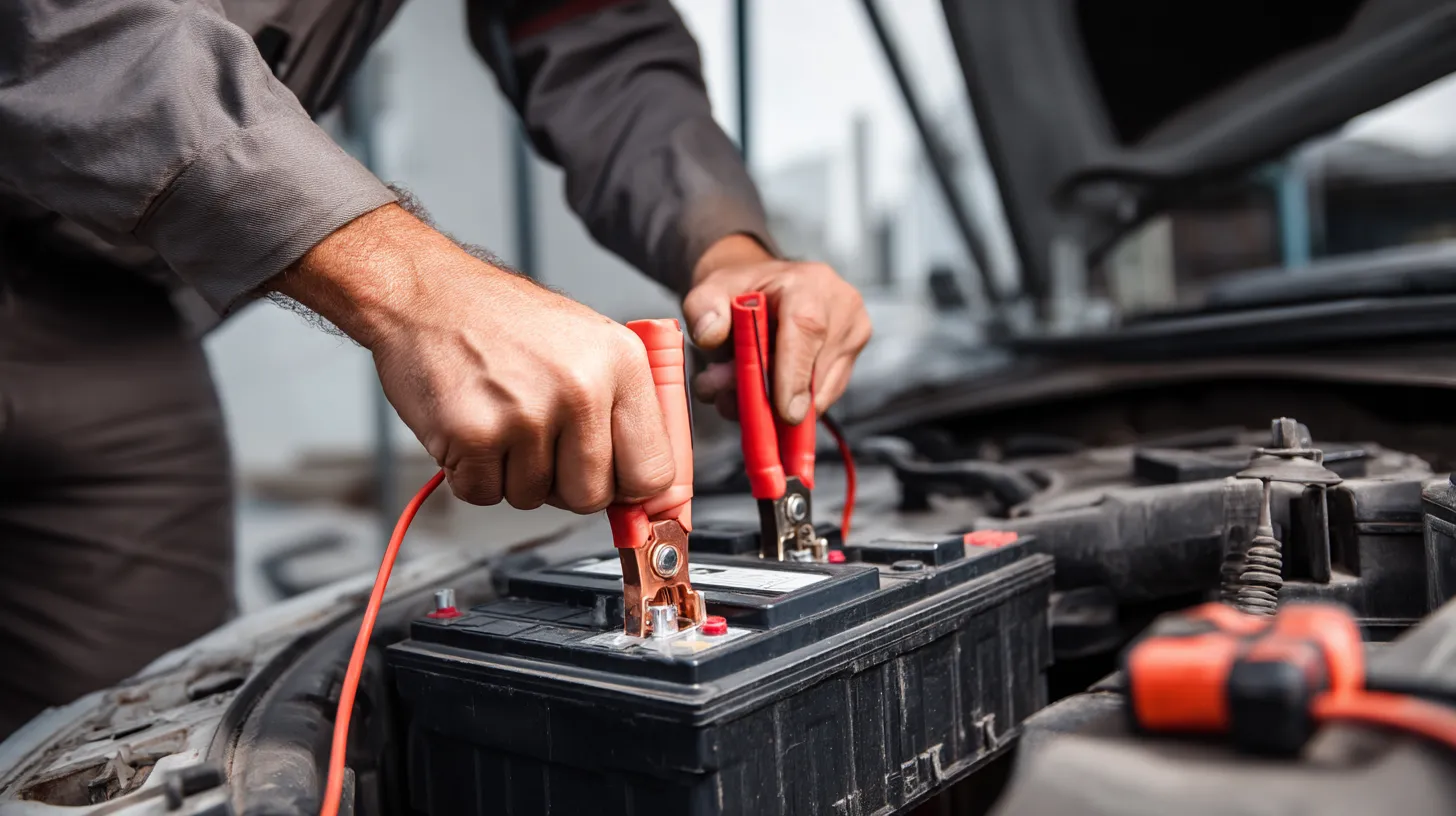
Reconnect Terminals (Positive First)
First attach the positive terminal, then the negative. Make sure both are tight, but not too tight.
Step 7: Test the New Battery
After connecting everything, start the vehicle to see if it works. Make sure the engine runs well as well as all electronics work.
If everything operates well, the replacement is done.
Common Mistakes to Avoid
Even a simple task like replacing a battery can turn into a disaster if certain steps are skipped. Avoid these common mistakes
- Connecting terminals at the wrong place
- Leveraging the wrong battery type or size
- Skipping cleaning, which can impact performance
- Not securing the battery appropriately
Taking a few extra minutes to double-check your work can prevent issues down the road.
When You Should Not DIY Battery Replacement
Changing many batteries is easy, but some cases are safer if done by a professional
- Newer vehicles that need battery registration or reset processes
- Vehicles with complicated electrical systems
- Batteries located in hard-to-reach areas
- For newer vehicles or complex electrical systems, getting aid from professional technicians at Relux Collision can prevent damage and ensure your vehicle runs properly after installation.
How Long Does It Take to Replace a Car Battery?
For most vehicles, replacing a battery takes between 15 and 30 minutes. The process may take longer if:
- The battery is difficult to access
- There is significant corrosion
- Additional components need to be removed
Planning ahead as well as having the right tools can aid keep the process quick and efficient.
Final Thoughts
Understanding how to replace a car battery is a valuable skill that can save time along with money. With proper preparation as well as attention to safety, it’s a task that most drivers can do confidently.
At the same time, it’s important to recognize when a situation needs professional guidance. Modern vehicles are more advanced than ever, as well as electrical systems can be sensitive to improper handling.
By following the right steps and making informed decisions, you can keep your vehicle running reliably and avoid unnecessary complications.
Disclaimer: This post was provided by a guest contributor. Coherent Market Insights does not endorse any products or services mentioned unless explicitly stated.


