
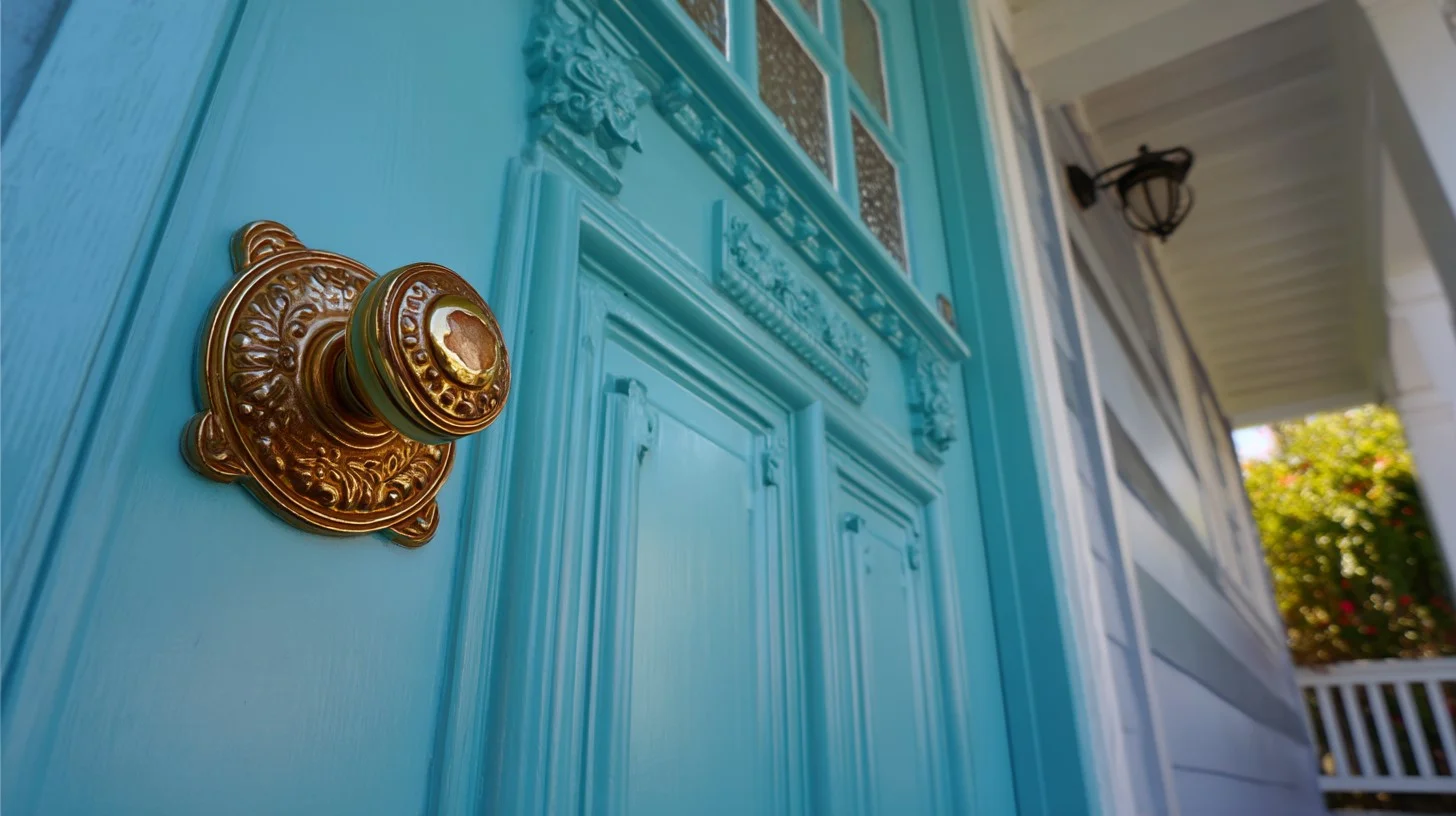
Painting an exterior door is one of the quickest ways to refresh the scaled-down charm of a home. A front door is one of the first things guests notice, a perfectly painted interior can make the entire exterior look more polished and maintained.
However, painting a front door is not the same as painting an interior wall or bedroom door. Exterior doors are exposed to daylight, rain, temperature changes, dirt, and moisture. Because of that the final result is more than just color decisions. Proper preparation, correct paint, and knowing the best time to paint, all come into account.
Choose the right paint and finish for your front door
Before you begin the process, make sure you have correct paint that is intended to support exteriors. Interior paint is not designed to handle UV moisture or temperature changes so it can quickly chip or fade on your front door.
Using exterior paint
Exterior acrylic latex paint is a popular choice for front doors since it is moisture resistant, durable, and simpler to clean compared to oil-based paint. It works very well on many different types of wood, fiberglass, and previously painted doors.
Although oil-based paint can be used, in some cases, on certain steel doors or old surfaces, do note it often takes longer to dry and may require more technicality in cleaning.
The most important factor is to choose a paint that is meant for exterior use and the same consideration with door materials.
Selecting the best paint option
The paint finish dictates the appearance and durability.
Satin is always a good choice for those who prefer a softer look with more firmness. Semi-gloss is often selected for doors since it is a much simpler and easier paint solution to handle. It holds up well against fingerprints, moisture, and typical daily use. High gloss solutions are preferred when creating a very polished look.
For most commonly used front doors, satin or semi-gloss provides first-class consistency and overall value for presentation and performance.
Selecting a color that works with the home
The front door color palette should be coordinated with the outside console. Consider siding trims, roofing, brick, stone, landscaping, and hardware before making a color selection.
Popular exterior door colors include black, military, deep rust, thermal white, purple, charcoal, and earthy neutral tones. Bold colors can appear luxurious when they’re balanced with the natural outdoor color palette.
Check the door before painting
Before starting a brand new can of paint, closely review the door and the surrounding areas. Paint can improve the appearance of the home, but it does not restore deep damage.
Check for damage
Look for cracks peeling, paint warping, dents, rust, water stains or soft wood. If the door is broken, these problems need to be addressed before painting.
Paint in brittle areas may briefly improve the quality of appearance, but moisture or heat can quickly create a problem as soon as the paint dries.
Inspect the Frame, Trim, and Surrounding Exterior
The door is only one part of the entryway. Check the trim frame, nearby siding and surrounding areas. If there are gaps, water damage or failing materials around the door, these issues may need repair before painting.
When home updates reveal deeper repair, siding, or restoration needs, a construction and restoration company like Golden Coast Construction & Restoration can be a helpful resource for addressing the underlying damage before the home’s exterior is refinished.
Gather the Tools and Materials You’ll Need
Having everything ready before you start will make the project smoother.
Basic supplies include:
- Exterior paint
- Exterior primer
- Sandpaper
- Painter’s tape
- Drop cloth
- Cleaning solution
- Angled brush
- Foam roller
- Paint tray
- Screwdriver
- Putty knife or scraper
- Tack cloth or microfiber cloth
Preparing the Front Door for Painting
The most important part of a project is preparation. A poorly prepared door can cause chipping, streaking, poor appearance, or uneven coating.
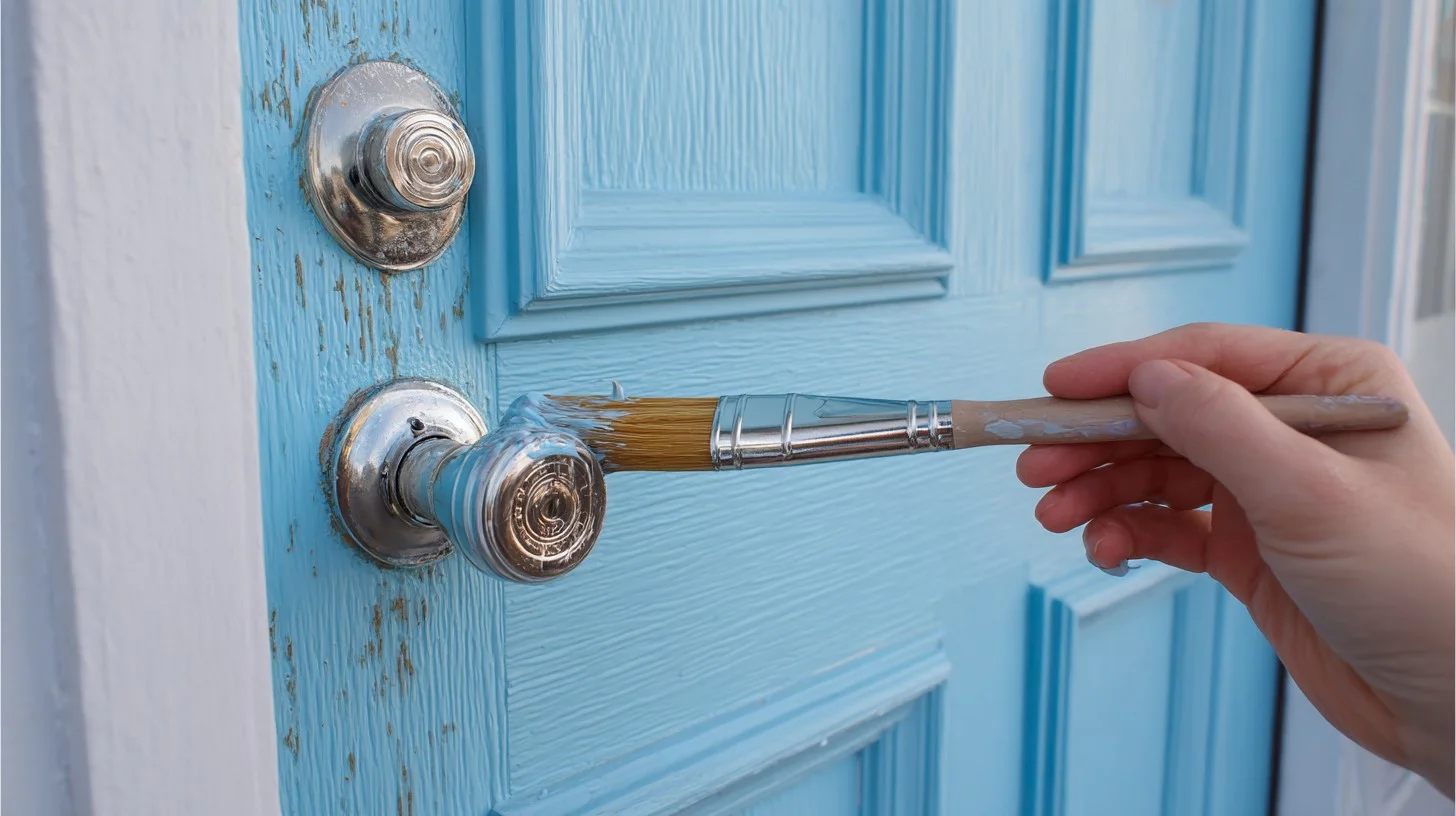
Remove doorknobs and locks
For the cleanest end result take off doorknobs, locks, plates address, numbers, and miscellaneous hardware. If you don’t want to remove it, then cover it with the painter’s tape. Removing such hardware before painting generally gives a cleaner finish and prevents paint from building up around the edges.
Clean the door thoroughly
Exterior doors collect dirt, pollen, fingerprints, grease, and mold. Paint on dirt does not adhere well.
Wipe the door with a mid-range cleaner, then rinse or wipe once more with clean water if desired. Allow the door to dry completely before sanding or painting
Scrape and sand old paint
If the current paint peels or flakes, discard the old pieces. Then, sand the base smooth.
Sanding makes it easier in getting rid of hard edges and gives the base more likelihood in securing new paint. Light sanding or degreasing is very important in keeping the door finish smooth. After sanding, remove any dirt with a microfiber cloth.
Repair minor imperfections
Fill any dents, cracks, nail holes, or small imperfections with a good quality filler. Once the filler is dry, sand it smooth.
If the frame is a round trim, trace the exterior where desired and let it dry before painting.
Prime the Door Before Painting
The primer helps paint bind nicely and creates an even more smooth finish. Although certain paints have a primer, a separate coat of primer is still very helpful in many situations.
When primer is required
Use a primer if the door has bare wood, metal, stains, patched areas, or a smooth surface. Primer is encouraged when transitioning from dark to light or if the current paint color is uneven.
For steel doors, use a corrosion-protective primer if rust is present. For smooth surfaces, use a bond primer.
Let the primer dry thoroughly
Follow the drying time on the product label. This step can affect future time on maintenance and may affect coat making it look flaky.
For an extra clean finish, gently sand the primer once it has dried, then wipe off the dust before painting.
Paint the Exterior Door
Once the door is accessible, refinished, sanded, and primed, it’s time for paint.
Decide whether to remove the door
Removing the door and painting it flat can help reduce drips and make surface work easier. If you keep the door in place, you should protect the floor, the threshold, and the surrounding area. Make sure the door can stay open long enough for the paint to dry.
Paint the panels and details first
If the door has panels, grooves, or decorative details, first paint individual areas with an angled brush. Gently work into the corners and edges.
Roll or brush flat surfaces
Use a foam roller for smooth, flat pieces. A hefty angled brush can help with edges and small areas.
Follow the natural path of the door as much as possible. Brush wood doors with grain.
Apply thin, even coats
Thin coats are better than thick coats. Heavy paint application can cause drips, bubbling, uneven drying and visible brush marks.
Most exterior doors need at least two coats for full coverage and durability. Let each coat dry properly before applying the next.
For homeowners who want a smoother finish and fewer visible brush marks, working with a professional painting company that specializes in door painting can be especially helpful for exterior doors that need detailed prep, priming, and durable application.
Good Weather Conditions for Painting the Front Door
The weather can affect how well the paint applies and dries.
Avoid direct sunlight
Painting in direct sunlight can cause the paint to dry very quickly. This can additionally cause streaks, patch marks, or choppy texture.
If possible, paint the door when it is shaded and the weather conditions are dry.
Check the temperature and humidity
Extreme heat, cold, or humidity can prevent drying and adhesion. Most exterior paints perform well within the temperature range indexed on the product label.
Avoid painting when rain, high humidity, or very significant temperature fluctuations are expected.
Drying time
Exterior doors need time to dry before they are completely closed. If the paint doesn’t fully dry, it may stick to the weatherstrip or frame.
Leave the door open for as long as possible while keeping your home safe and secure.
Common Exterior Door Painting Mistakes to Avoid
Skipping surface preparation
Additional cleaning, sanding, scraping, and priming can feel time-consuming but they are important. Paint applied over dusty gloss or peeled paint will not last for long.
Using the wrong paint
Interior paint or low-quality paint can quickly fail on the outside. Always use tested and true products designed for exterior / door materials.
Painting over damage
Rot, rust, cracks, and moisture should be repaired before painting. The paint should protect the door, not fix it.
Applying paint too thick
Thick coats cause drips and uneven absorption. Thin coats create a smooth layer that lasts longer and reduces maintenance.
Reinstalling hardware too soon
New paint can scratch or dent without problems before it cures. Allow the paint to dry completely before reinstalling the hardware.
How to Maintain a Painted Exterior Door
Protecting the painted door can help the paint last longer.
Clean the door regularly with a recommended cleaner and a soft cloth. Wipe away dirt fingerprints and dirt regularly.
Repaint the door on time, when you notice fading, cracking, chipping, or worn edges.
Final Thoughts
Learning to paint an exterior door surface comes down to practice, the right paint selection, correct weather, and careful work. The steps are simple, but the details make the difference between a finished work that lasts for years.
Assess the door first, use the correct primer, select a recommended paint for exterior use, allow enough time for each coat to dry. With the right method, exterior door painting can enhance curb appeal, protect your entryway, and give your home a clean polished look.
Disclaimer: This post was provided by a guest contributor. Coherent Market Insights does not endorse any products or services mentioned unless explicitly stated.


